Elevate your macro photography with focus stacking

Uncover the smallest details in perfect focus from front to back using this technique of combining a number of images into one amazing shot
What is focus stacking?
Focus stacking is a photography technique that combines multiple images taken at different focus distances to create a single photograph with a greater depth of field and huge amounts of detail. It’s particularly useful in macro photography, where often the focal plane is very shallow and even small changes in distance can leave parts of a subject out of focus.
You might wonder why you can’t simply stop down your lens to f/11, f/16 or f/22 to capture more of your subject in focus. Well, while a smaller aperture increases depth of field, it also reduces the amount of light reaching your sensor, which could soften fine details.
Focus stacking offers a different solution. By photographing your subject at several different focus points and combining the images in specialist software, you can produce a final photograph with exceptional sharpness from front to back.
In this guide, award-winning fine-art photographer David Leaser, who uses focus stacking to create the extraordinarily detailed images of flowers and other natural subjects you see here, shares his set-up, recommended camera settings and practical tips to help you get started.
Featured product


Why use focus stacking for macro photography?
Macro photography magnifies the challenges of focusing. At high magnifications, depth of field can become extremely shallow, even when you’re using a relatively small aperture.
Focus stacking allows you to:
- Capture more depth of field: keep intricate details sharp across the subject, from foreground to background.
- Reveal fine textures: bring out the delicate structures of petals, insect wings, jewellery and other small subjects.
- Retain image quality: avoid relying exclusively on very small apertures, which may introduce diffraction.
- Create distinctive fine-art photographs: transform everyday objects into highly detailed, visually striking images.
Focus stacking does require a little preparation. You’ll need a stable set-up so your subject doesn’t move, consistent lighting, a sequence of carefully focused images and software to combine them. But once you’ve mastered the process, it opens up creative possibilities that can be next to impossible to achieve with a single press of the shutter.
The best equipment for focus stacking
You don’t need a complicated studio to begin focus stacking, but the right equipment will help you achieve more consistent results.
Camera and macro lens
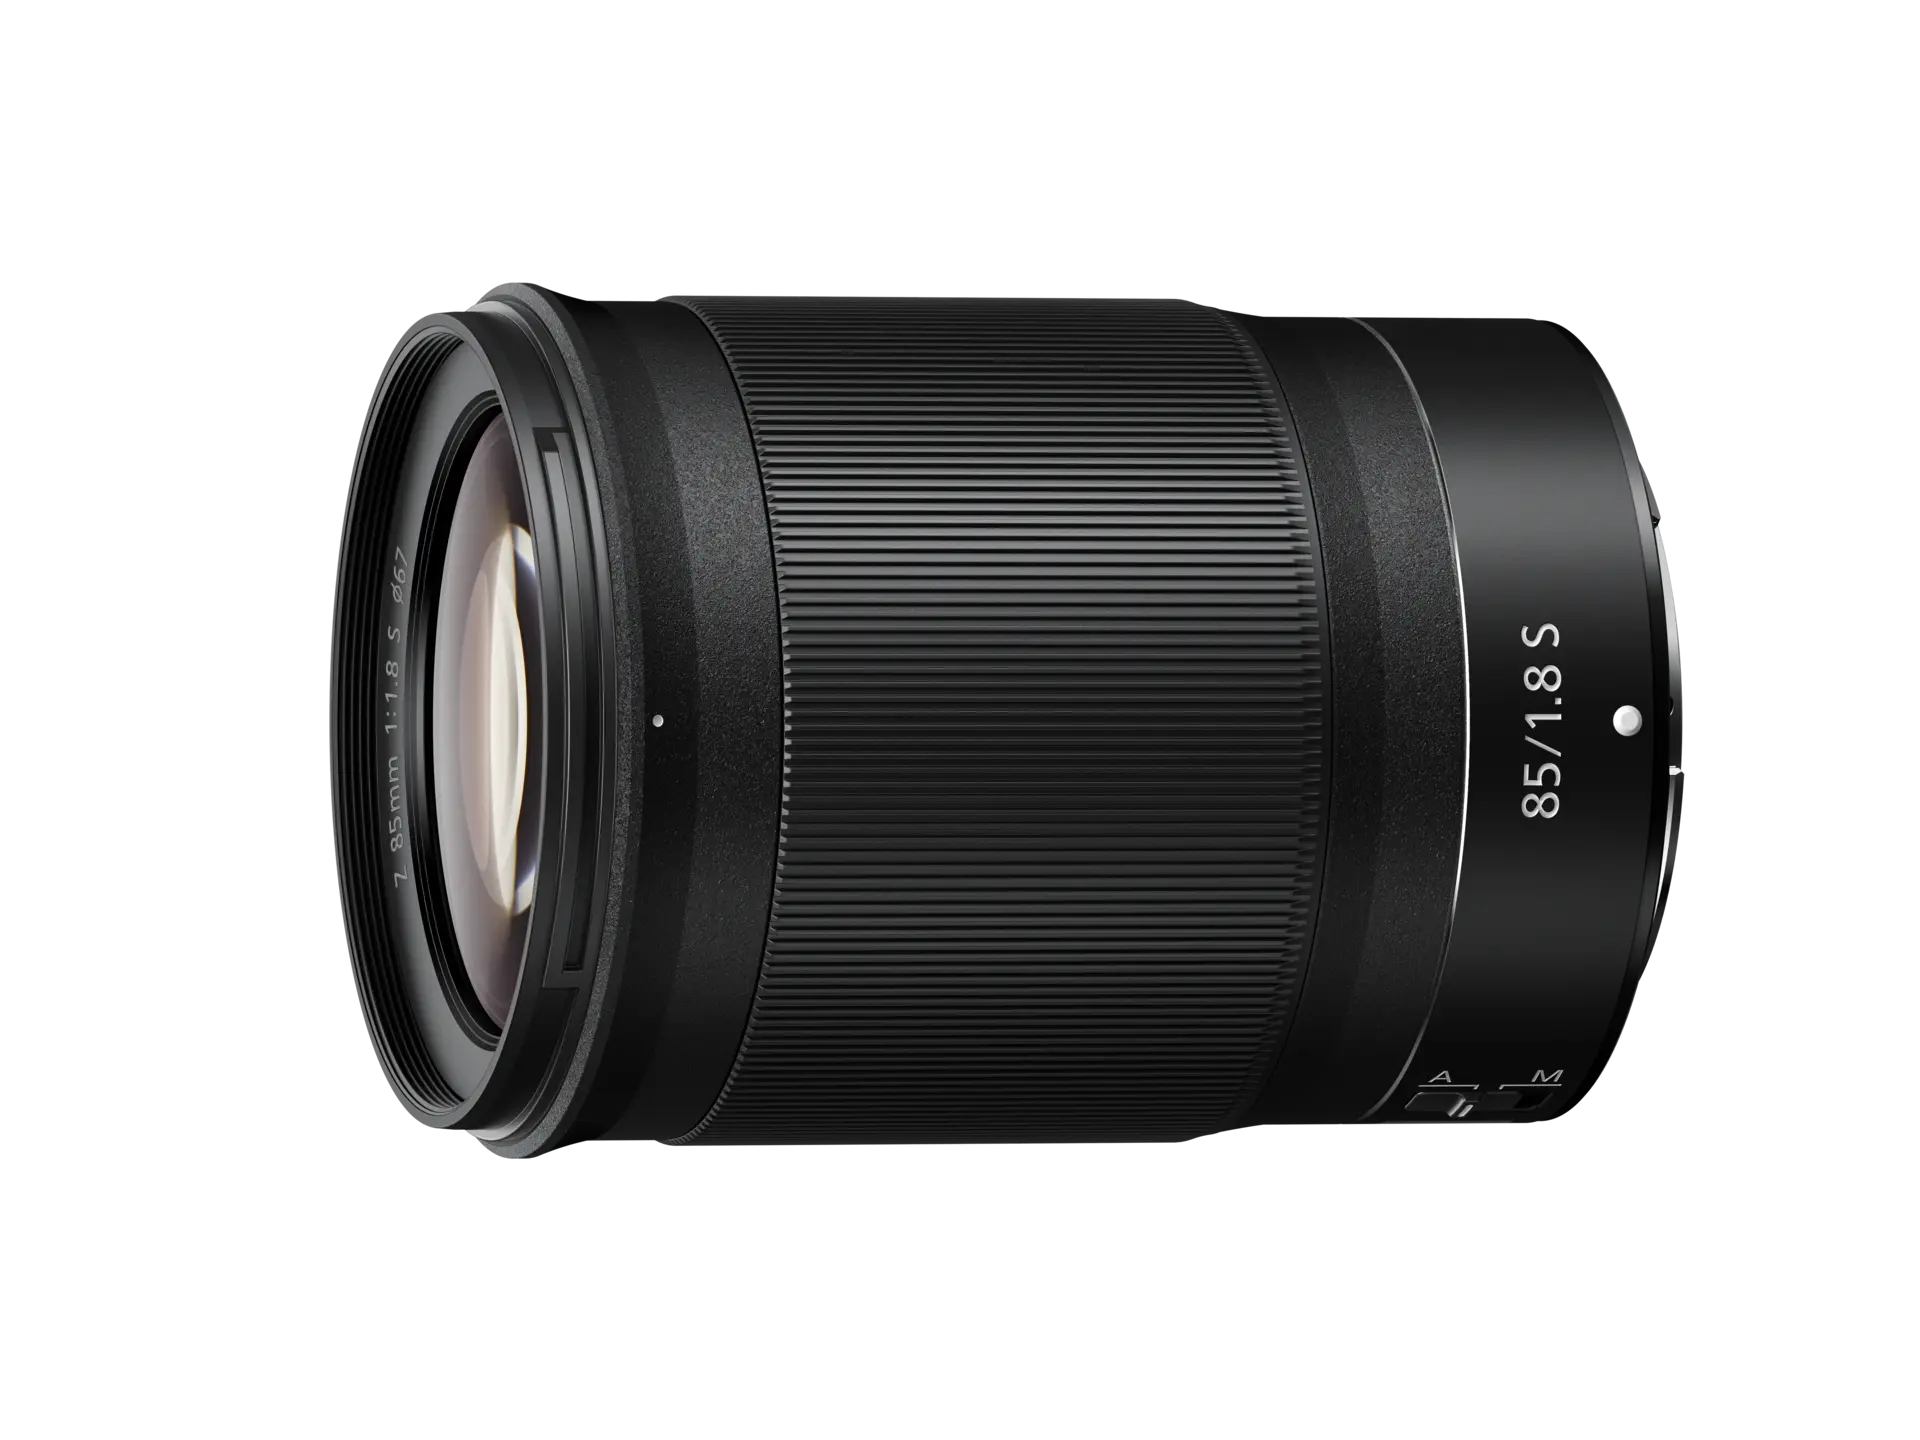
For the images you can see here, David used a Nikon D850 DSLR with an AF-S Micro NIKKOR 60mm f/2.8G ED lens. Most of the latest Nikon Z cameras have a Focus Shift Shooting menu, which allows you to programme a series of bracketed images. As for lenses, the NIKKOR Z MC 50mm f/2.8 and NIKKOR Z MC 105mm f/2.8 VR S are full-frame options, and for APS-C/DX owners the NIKKOR Z DX MC 35mm f/1.7 is a perfect match for the Nikon Z50II.
Tripod and accessories
A sturdy tripod is essential for keeping your composition stable throughout the sequence and David recommends you disable vibration reduction once the camera is set up on the tripod. You’ll also need a suitable backdrop for your subject and focus-stacking software (David uses Zerene Stacker).
Lighting equipment
For David, lighting is one of the most important parts of focus stacking. Fine details can disappear in harsh shadows, while poorly controlled highlights can distract from the subject’s intricate structure. While you can use constant LED lights, David uses flash, and often works with five speedlights, adjusting the number and position according to the size of his subject and its distance from the lens.
“How many speedlights I use depends on how large the subject is, and how close it is to the lens,” he explains. “I want light coming at my subject from all angles. If it’s very close to the lens, I need to pay special attention to making sure the light is getting to the underside of my subject.”
The aim is to illuminate the entire subject evenly, including areas that might otherwise fall into shadow.

How to set up your camera for focus stacking
Once your equipment is ready, configure your camera to capture a sequence of images at different focus distances using the Focus Shift Shooting menu.
- Choose your focus step width
Focus step width determines how far the focus position changes between successive photographs. A smaller step creates more overlap between the areas in focus, while a larger step can reduce the number of images required.
David uses a focus step width of three for the examples in this tutorial. Treat this as a starting point rather than a universal setting. The ideal value depends on magnification, subject depth and lens characteristics.
- Set the number of shots
The number of photographs required depends on how much of your subject needs to be sharp and how shallow the depth of field is.
David typically captures between 50 and 125 images for a sequence, sometimes taking more when necessary. Start with a manageable subject, review the results and increase the number of shots if gaps in focus remain.
Make sure your sequence covers the entire subject, from the nearest detail you want in focus to the furthest.
- Adjust the interval between shots
The interval determines how long the camera waits between exposures. This is particularly important when using flash, as the speedlights need sufficient time to recycle between shots.
David uses an interval setting of 00 in his set-up, which allows the camera to shoot at its configured pace. Your ideal interval will depend on your flash output, recycling time and camera settings.
- Check your exposure settings
David’s starting exposure settings are 1/60 sec, f/8 and ISO 64. These settings work for his particular set-up, but you should adjust them to suit your lighting, camera and subject. Consistency is key for focus stacking. Aim to maintain the same exposure, lighting and composition throughout the sequence so the software can blend the images cleanly.
- Set your starting focus point
Before starting the sequence, manually position the focus on the nearest part of the subject you want to appear sharp. This helps ensure the camera captures the full depth of the subject as focus moves through the sequence.

Focus stacking tips: how to get sharper results
Once your camera is configured, a few simple tips can make a significant difference to the quality of your final image.
Prepare your equipment
Make sure your battery is fully charged. It might sound obvious, but a focus-stacking session can involve well over 100 exposures, so spare batteries and sufficient storage are worth having to hand.
Check your camera settings
Enable exposure smoothing in the Focus Shift Shooting menu. This helps minimise exposure variations across the sequence. Set your first focal point manually. Although focus shift shooting can use autofocus, David manually establishes his starting focus point before beginning the sequence. Finally, review your camera’s playback settings and magnify the image preview to check that important details are sharp.
Check as you go
A magnifying eyepiece can make it easier to inspect fine details when composing through the viewfinder, and David also zooms in on the camera’s LCD preview to check focus before committing to a full sequence. These small checks can save time by helping you identify focus or composition problems before you’ve captured dozens of images.

Minimise subject movement
Movement is one of the biggest challenges in focus stacking, especially when photographing flowers and plants. A gentle breeze, air-conditioning or rising warm air can move delicate petals and stems between exposures. David’s sessions typically last around 15 minutes, during which time he pays close attention to changes in the environment and any movement caused by himself or his equipment.
“I take my photos in a dark room, because flowers will turn towards even the faintest glimmer of light,” he explains. Depending on the species and its condition, David moves flowers into the room up to a full day before photographing them. This helps reduce movement caused by changing light, although flowers will continue to change naturally over time.
For your own focus-stacking sessions, work in a still environment, avoid touching the set-up during capture and minimise any airflow around the subject. If a few images contain movement, don’t necessarily abandon the sequence. Stacking software can sometimes compensate for minor differences, and you can remove unusable frames before processing. However, significant movement between exposures can create blending artefacts that are difficult to correct.
Find the right shooting distance
Your working distance affects both magnification and lighting. David often photographs flowers from just a few inches away, depending on their size, while making sure there’s enough room to illuminate the subject effectively.
Take test shots at different distances before capturing the full sequence. Check that the light reaches the front, sides and underside of your subject without creating unwanted shadows or reflections.

What subjects work best for focus stacking?
Focus stacking isn’t limited to macro photographs of flowers. Any relatively static subject with intricate detail or significant depth can make an interesting project.
Try photographing:
- Flowers, leaves and botanical specimens.
- Insects and butterflies, where movement and subject condition allow.
- Coins, jewellery and other small objects.
- Shells, stones, bark and rock formations.
- Textured materials and everyday objects with intricate surfaces.
Look for subjects with interesting shapes, patterns and textures. Focus stacking can reveal details that might otherwise be lost when only a small part of the image is sharp.
Take your macro photography further
Focus stacking combines technical precision with creative experimentation. The camera captures the sequence, but your decisions about lighting, composition, focus and subject choice determine the final result.
Start with a simple subject, use a stable tripod, experiment with your lighting and review each composite carefully. As you gain confidence, try more complex subjects and longer focus sequences.
With patience and practice, focus stacking can help you create close-up photographs that reveal an extraordinary level of detail and turn the ordinary into something remarkable.
Uncover NIKKOR Lenses


Featured products

'%3e %3ccircle cx='453' cy='453' r='263' fill='%23FFDD00'/%3e %3c/g%3e %3cdefs%3e %3cfilter id='filter0_df_5839_100698' x='0' y='0' width='906' height='906' filterUnits='userSpaceOnUse' color-interpolation-filters='sRGB'%3e %3cfeFlood flood-opacity='0' result='BackgroundImageFix'/%3e %3cfeColorMatrix in='SourceAlpha' type='matrix' values='0 0 0 0 0 0 0 0 0 0 0 0 0 0 0 0 0 0 127 0' result='hardAlpha'/%3e %3cfeOffset dy='1.66516'/%3e %3cfeGaussianBlur stdDeviation='0.832579'/%3e %3cfeComposite in2='hardAlpha' operator='out'/%3e %3cfeColorMatrix type='matrix' values='0 0 0 0 0 0 0 0 0 0 0 0 0 0 0 0 0 0 0.25 0'/%3e %3cfeBlend mode='normal' in2='BackgroundImageFix' result='effect1_dropShadow_5839_100698'/%3e %3cfeBlend mode='normal' in='SourceGraphic' in2='effect1_dropShadow_5839_100698' result='shape'/%3e %3cfeGaussianBlur stdDeviation='95' result='effect2_foregroundBlur_5839_100698'/%3e %3c/filter%3e %3c/defs%3e %3c/svg%3e)

More in macro


For limitless creativity