How to film better documentaries with Gianna Mazzeo
Filmmaker Gianna Mazzeo invites us behind the scenes of her new documentary, ‘The History of the Carabiner,’ and shares her camera settings, pre-production schedule and her editing checklist
How do you create an authentic expression of identity and belonging? For videographer and director Gianna Mazzeo, it’s about sharing the history of the carabiner (for those not in the know, that’s an oval shaped clip historically used for climbing). After submitting a brief for Nikon and hosting platform WaterBear’s As Told By Us series, she produced her documentary, The History of the Carabiner. Here, she speaks to Nikon magazine about the importance of telling the story, her approach to composition and bringing it all together.
Think of your reason why
When you start researching to submit an idea for a documentary, you first need to think of your reason why. Why this subject? Why this story? What am I trying to evoke? For Gianna, it was all about showing the rich history of the carabiner. “The history of this accessory was almost unchartered territory, something I’d never seen on screen before,” she explains.
“As carabiners are starting to be worn as mainstream fashion accessories, I wanted to create a film that reminds people how they came to be and the gravity of the item that we now wear so casually,” Gianna adds. “Queer people in the late 20th century, and unfortunately even still today, have faced discrimination. The hardship and the important work they’ve done to improve the rights and acceptance of the LGBTQIA+ community is finally starting to take effect and we’re beginning to see a lot more meaningful change (although there is much still to be done, of course). As the landscape starts to shift, and members of the queer community feel more comfortable to be themselves and wear visible symbols of their identity, I think it’s important to look back and remember why that is and who made it possible.”
Plan your structure in pre-production
“I spent most of my time in pre-production: writing and researching. That took about ten days. I took another week to write the voiceover and then came up with visual elements that would complement each section of the voiceover,” says Gianna. “Throughout the process, the script changed multiple times – there are seven versions in total. I kept a placeholder voiceover that I recorded myself at home and then, at the very last minute, when we were in the online edit, we recorded the voiceover for the final time.”
Gather the right gear
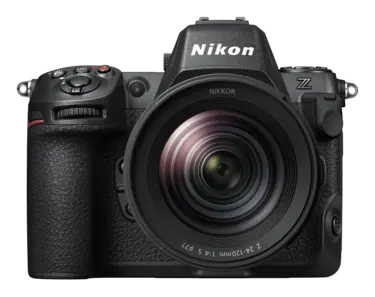
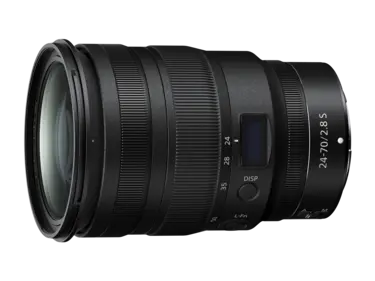
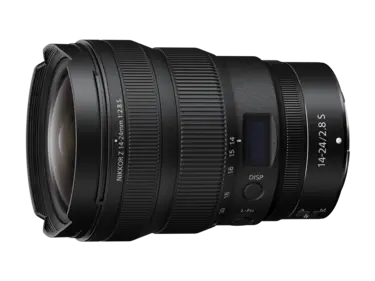
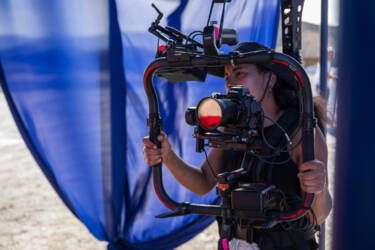
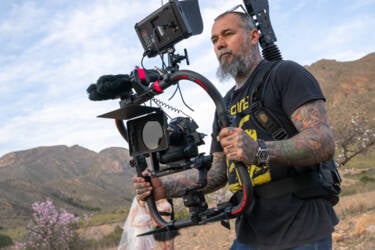
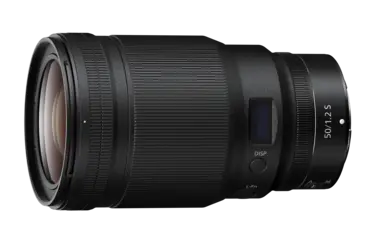
Gianna filmed with the Nikon Z 8 plus a NIKKOR Z 24-70mm f/2.8 S, a NIKKOR Z 14-24mm f/2.8 S and a NIKKOR Z 50mm f/1.8 S. “I love how lightweight the Z 8 is and how it didn’t exacerbate my existing back problems from operating heavy camera equipment! I also really liked the in-camera zoom function,” she says. “I was a little cautious at first and was concerned that it would look like a zoom effect in post-production, but I was really impressed with the function and loved that it meant I could forgo adding extra heavy and expensive accessories that allowed for that capability. I shot handheld with a cine saddle for extra stability.”
Top tip: The Nikon Z 8 has two custom buttons on the front of the camera that you can set to use in-camera zoom. Here, the in-camera zoom acts like an old camcorder, where you can zoom in and out by pushing buttons, even with a prime lens. Plus, you can adjust the speed in-camera, too.
Film in Manual mode for ultimate creativity
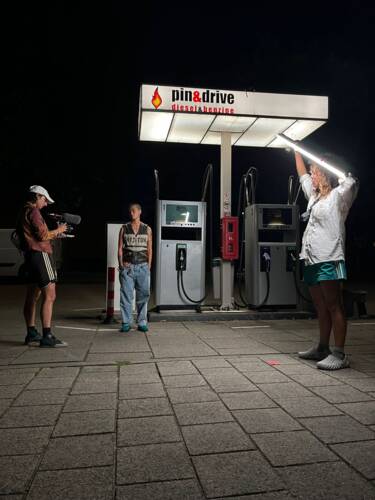
Manual mode allows for flexibility. “I used the NIKKOR Z 50mm f/1.8 S prime for portraiture shots due to its fast aperture and ability to provide a flattering, shallow depth of field,” says Gianna. “I opted for the wide end of the 14-24mm zoom to add a contemporary edge with warped wide-angle close-ups. I like the way they give an intimate feel while still allowing for background context because you’re super close to your subject on a wide lens. My aperture was always wide open for maximum shallow depth of field, and I used some natural density filters to control the amount of light I was letting into the camera (for a guide to filters, click here). 800 was the suggested native ISO, but I pumped it up to 1600 for Emelia’s night-time scene in front of the apartment building. Afterwards, I opted for 800 to reduce noise and underexposing a little (to then be fixed in the colour grade) for Dee’s footage at the petrol pump.
Gianna’s camera settings:
- Frame rate and resolution: 25fps and 4K
- Shutter speed: 25fps with 1/50
- Aperture: wide open for maximum shallow depth of field
- ISO: 800, up to 1600 for night-time scenes
- White Balance: true to the colour temperature of the environment
Top tip: Your shutter speed should always be fixed at double your framerate (so 30 frames per second, your shutter speed should be fixed at 1/60) as this will provide you with the most natural-looking footage.
Vary your shots
“I wanted to create moments that link each of the different members of the community by the common visual motif of match cutting,” explains Gianna. “I shot-listed several moments throughout the film that I knew I’d be able to match-cut across the talent, such as the wide shots of the talent standing still and looking towards the lens as we zoomed in, or the sequence at the end where the camera moves in a half-circle motion and wraps around a mid-shot of the talent.”
Read more: How to film a live performance video with the Nikon Z 8
Make use of natural light
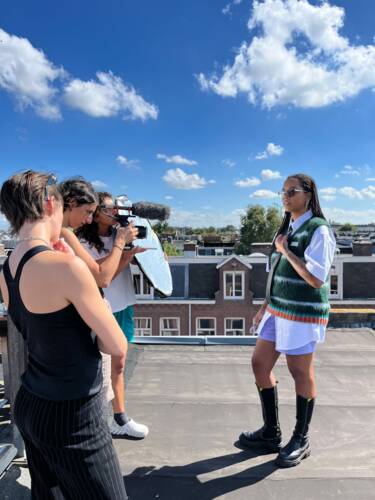
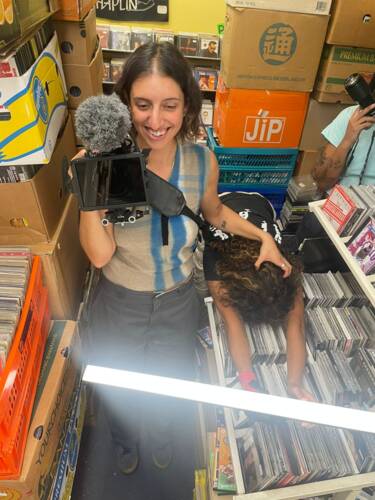
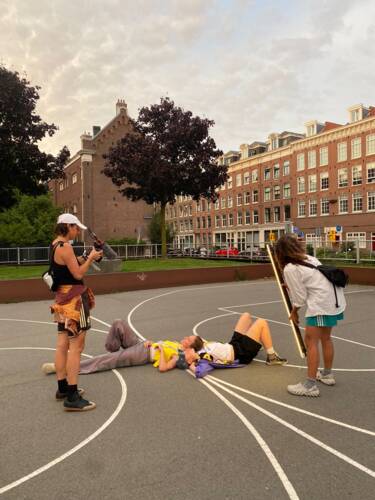
“I love shooting in natural light, and I find it a lot easier to control. Amsterdam is often overcast, which creates a beautiful diffusion of light. One interior we filmed was Jennifer Loveless in a record store, which is fitting since she’s a DJ and producer! I’ve had that store saved in my phone for a while because I’ve always loved how chaotic and crowded the place is. It was hard to shoot with fluorescent lighting since it can cast a green hue over a space, however we were able to manage it well by shooting in N-LOG and correcting in colour grade.”
Read more: A beginner’s guide to light
Key editing elements
So, you’ve gathered your talent, shot the scenes and now it’s time to bring it all together. Here are the key elements to consider:
Music
Gianna wanted the music to be contemporary with an electronic edge to place the documentary into the fashion film space. “The first section is dreamy and abstract, and the second section calls for more percussive, less emotional music. Then, finally, we move into the Alison Bechdel section where the music slows down, becomes emotive, has a melodic riff and is more pensive and reflective,” Gianna explains. An original song by composer Jennifer Loveless was used as well as a new release, titled ‘Carabiner’, from Melbourne producer Bertie.
Framing
The sky is the limit when it comes to how you want to edit your footage together. For Gianna, collage was the method for her to layer archival footage, 35mm stills and the new digital footage from the Z 8. “The video was always supposed to be a hybrid of a historical documentary, explaining how the carabiner came to be, mixed with a fashion film because it is now often worn as a fashion accessory. Two worlds, quite far apart,” Gianna says. “Collage linked these worlds.”
Additional footage
Whether you require additional footage will depend on your subject and editing style. Gianna wanted to embed her footage within historical context, despite never working with archival footage before. “At first, I used footage from Internet Archive and later realised the lack of content in the public domain, so we had to undergo the rigorous process of securing permissions, licensing the footage, or sourcing alternatives. Luckily, we found that after a short explanation of the subject matter of the project, so many people got behind us and wanted to help us. Even Alison Bechdel, whose graphic Fun Home is mentioned in the documentary, watched the film and gave us insightful and thoughtful feedback.”
Text
Text on screen is all about balance and style. “From the very beginning, I always had the idea of emphasising certain important points with text on screen, to draw attention to key messages such as ‘agency’ and ‘capability’ but also more comical moments,” explains Gianna. Always make sure your text appears on screen for enough time and in a colour and typeface that is easy to read, and think of your reason for the text. Gianna’s reason? “The documentary is intense with audio and video, so I wanted to find a way to make certain words and ideas stand out from a very constant voiceover,” she says.
Colour grading
Hold the viewer’s attention by keeping the energy high through visual elements such as animations, titles or different types of footage. “With the colour grade, the brief was vibrant, saturated and colourful,” says Gianna. “To link the archival with the new footage, we added a bit of film grain, and we used a 35mm analogue look to give a nostalgic feel to the Nikon footage and to help it blend better with the archival footage.”
You can watch The History of the Carabiner here.
Credits: A film by Gianna Mazzeo / Produced by WaterBear / Supported by Nikon
Cast: Marieke Ubachs, Elisa Da Laqume, Ruby Cruden, Rex Rank, Louis Veelenturf, Aleksandra Melekhina, Jennifer Loveless, Diede Vermeesch, Emelia Portellos
Executive Producer – Rickey Welch & Lisa Cadwallader / Associate Producer – Alexia Lafeuille / Stylist – Georgia Boal-Russel / Production Manager – Iona Smith / HMUA – Chiara Sriram / Stills Photographer – Ruby Cruden / Gaffer – Emelia Portellos / Production Assistant – Dirkje Duwel / Colour Grade – Vanessa Aparicio (Glassworks) / Original Score – Jennifer Loveless / Music – ‘Carabiner’ by Bertie + ‘Fall In Love’ by Jennifer Loveless / Sound Design & Mixing – Sam Walvisch (Public Audio)
More in videography
Uncover NIKKOR lenses
What lenses are the pros using with the new Nikon Z 8?
Unlock greater creativity
